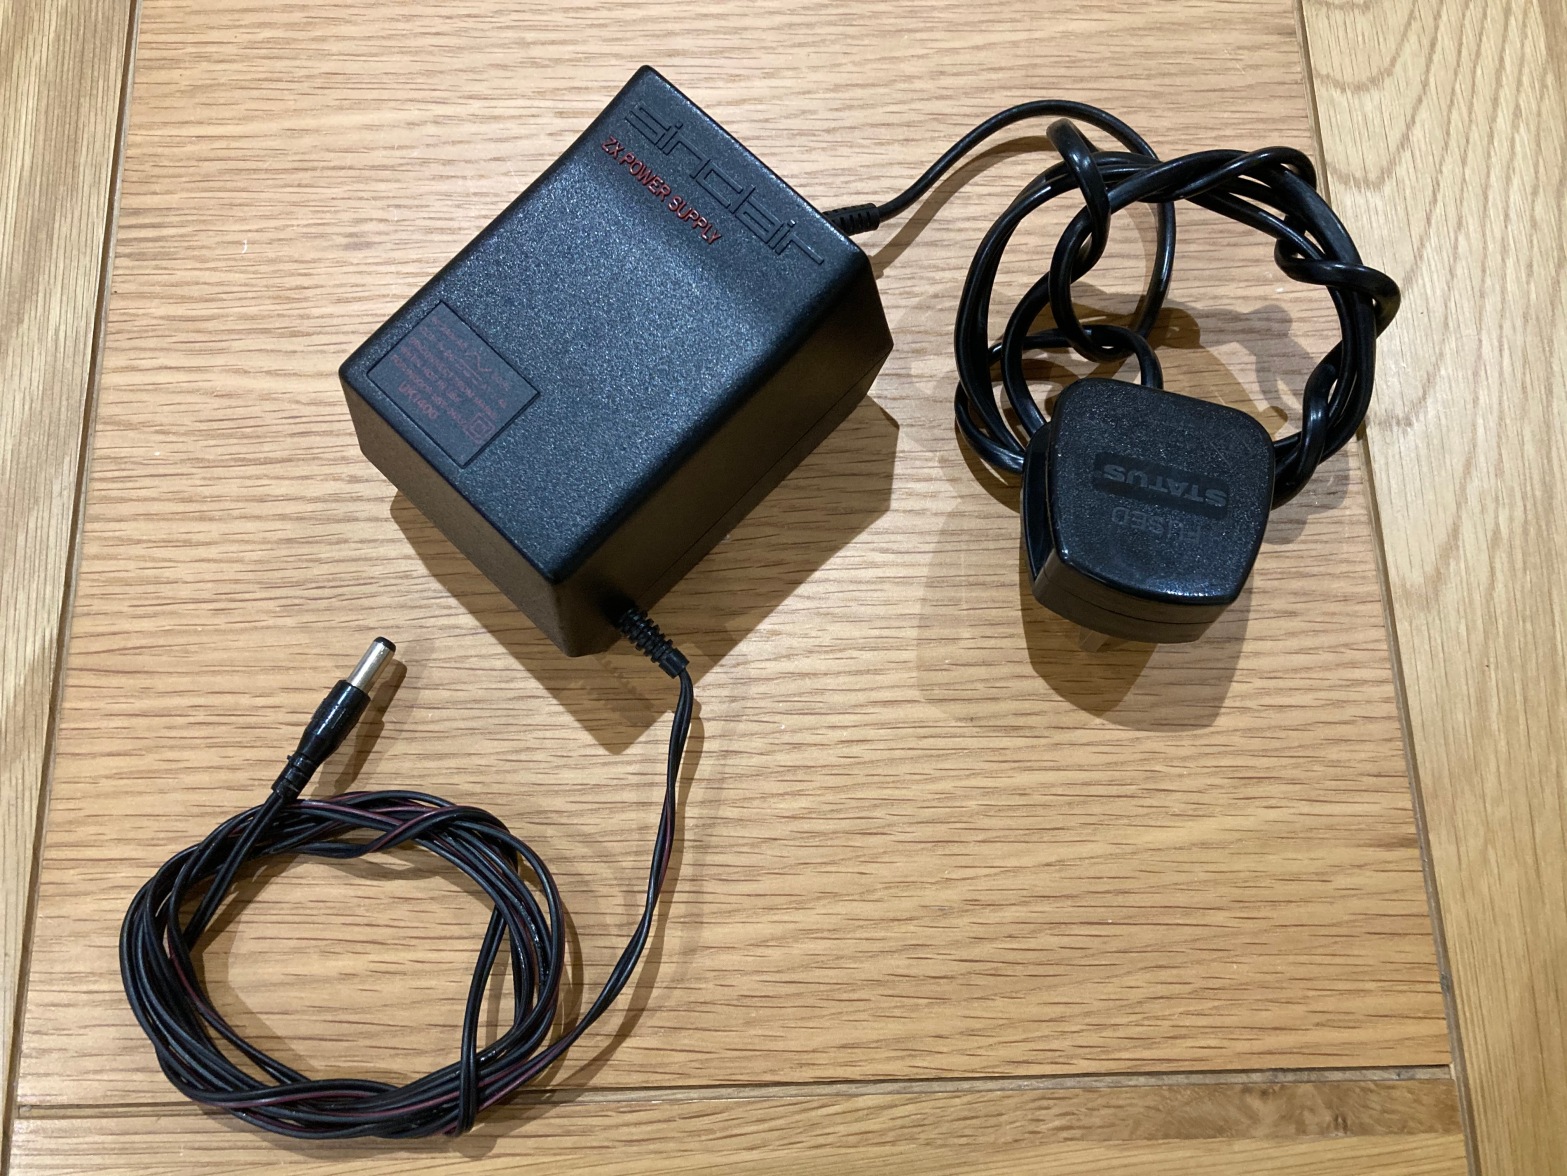
This is a very quick post about some Sinclair ZX1400 PSUs that I repaired a while ago, in case it’s of use to anyone. I end up gathering quite a few of these power supplies with various lots, and they usually have an array of weird and (not so) wonderful modifications.


The ZX1400 PSU was designed for use with the Sinclair ZX Spectrum 48k and 48k+; it has a 5.5/2.1mm DC jack and outputs centre-negative unregulated 9Vdc at up to 1.4A.
These PSUs are of a very simple design: it’s just a mains step-down transformer (AC-AC), then a full-wave bridge rectifier (AC-DC), then some smoothing capacitors to try and make the output a bit more stable. A design flaw in some early units lead to a potential shock hazard, and subsequent recall notice – if in doubt, check!
Because the output voltage is unregulated, it can vary significantly based on both the mains input voltage and the load on the power supply – as such, “9Vdc” is a very rough figure (more of a minimum value), and it’s normal for these PSUs to sit around 15Vdc unloaded (a 7805 linear regulator, such as that in the ZX Spectrum 48k, can typically handle up to 25Vdc).
The simplicity of these external power supplies led to the internal power supply circuit of the ZX Spectrum 48k being quite complex (needing to generate +5Vdc, -5Vdc, and +12Vdc from the +9Vdc input), which unfortunately also makes it quite unreliable.
But, I digress – back to the power supply repairs. I’ve worked on a lot of ZX1400s (and I always fit a new 3A fused UK plug, which is very important from a safety point of view), but the two below in particular cover most of the common faults.
ZX1400 PSU #1
The first power supply had seemingly been modified for use with an Atari 2600, as the DC jack had been cut off and an aftermarket 3.5mm mono jack fitted instead – aside from that, the power supply was working OK.
It’s simple to remove the aftermarket connector and fit a 5.5/2.1mm DC jack connector, with solder terminals and screw-on sheath – just make sure the polarity is correct.
The ZX1400 is very easy to disassemble, and fixes together with four cross-head screws.

It’s common for these types of PSU to be modified for use in other applications, often in weird and unsafe ways – it’s therefore important to always check the output voltage and polarity before trying one with a ZX Spectrum, or you could damage your computer.
If you do find that the output polarity has been reversed, it’s easy to change it back to factory by desoldering and swapping the cabling on the PCB.

ZX1400 PSU #2
The second PSU had also been modified, and although it had the correct DC jack fitted, it seemed to be completely dead (no output voltage).
On disassembly, it appeared that the output cabling had previously been crushed onto one of the case stands, breaking the insulation and causing a short-circuit – the cabling had been repaired very poorly with twisted joints and old electrical tape, and was even installed in the wrong polarity (centre-positive).
I repaired the cabling properly, with soldered connections covered in heatshrink, but the PSU still wasn’t outputting any voltage, and there wasn’t AC voltage across the secondary winding of the mains transformer.
I checked the continuity of the secondary winding in case it had burned out, and it tested okay – there is usually a thermal fuse fitted across the primary winding on the ZX1400 to provide overcurrent protection (a very important safety feature), and it tested open-circuit, so needed to be replaced. My guess is that the PSU was turned on with the damaged output cabling was shorted, and it killed the fuse.

Some PSU designs have the thermal fuse on the PCB, but with this one it’s incorporated into the mains transformer. As in the above image, it’s possible to bypass the original fuse by soldering a suitable replacement slow-blow 160mA 250V cartridge fuse across two terminals of the transformer primary.
Once I’d done this, the PSU seemed to be outputting the correct DC voltage, but only intermittently – I checked for bad connections or cold solder joints, and noticed that the output cable was frayed right on its plastic strain relief, a common problem. I removed the section of the cable in and around the strain relief, and tied a knot in the cable to act as a strain relief instead – after doing so, the power supply worked reliably.


A great resource to have bookmarked for these PSU – I also have many of these from bulk lot purchases from years ago
LikeLiked by 1 person
I remember when I added add on memory pack and other radio teletype modem my psi burnt out so I built a new one in metal box the problem with sinclair power supply was no ventilation jokes but better than modern switch mode power supply with case glued together and no filter chokes or capacitors on mains input so gives out radio interference like those dreadful car battery chargers that lack any mains filter and transmit interference to block radio reception and interfere with Wi-Fi old car battery chargers with mains transformer and metal rectifiers were much better some were so old they were actually made in England and worked well
LikeLike