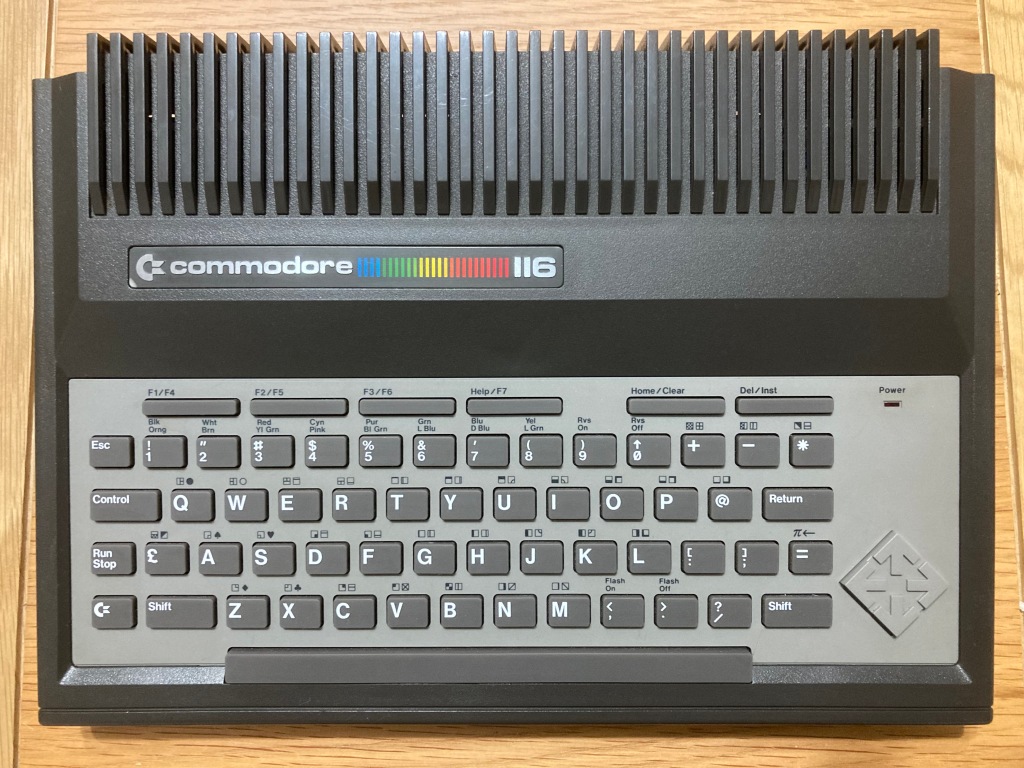
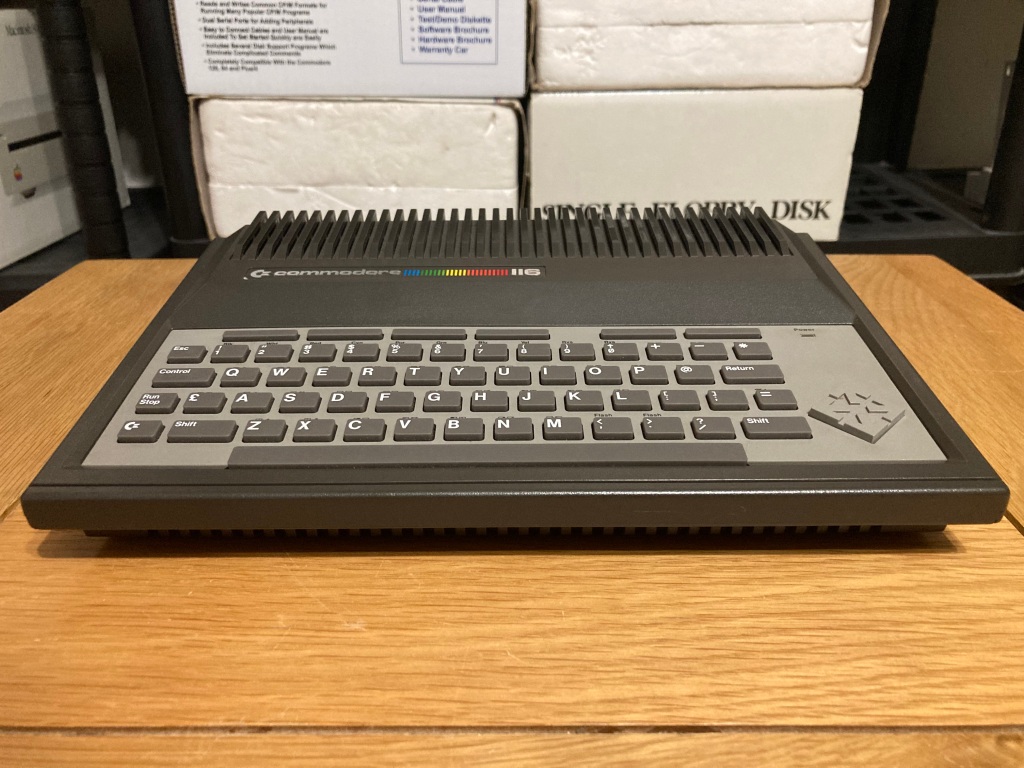
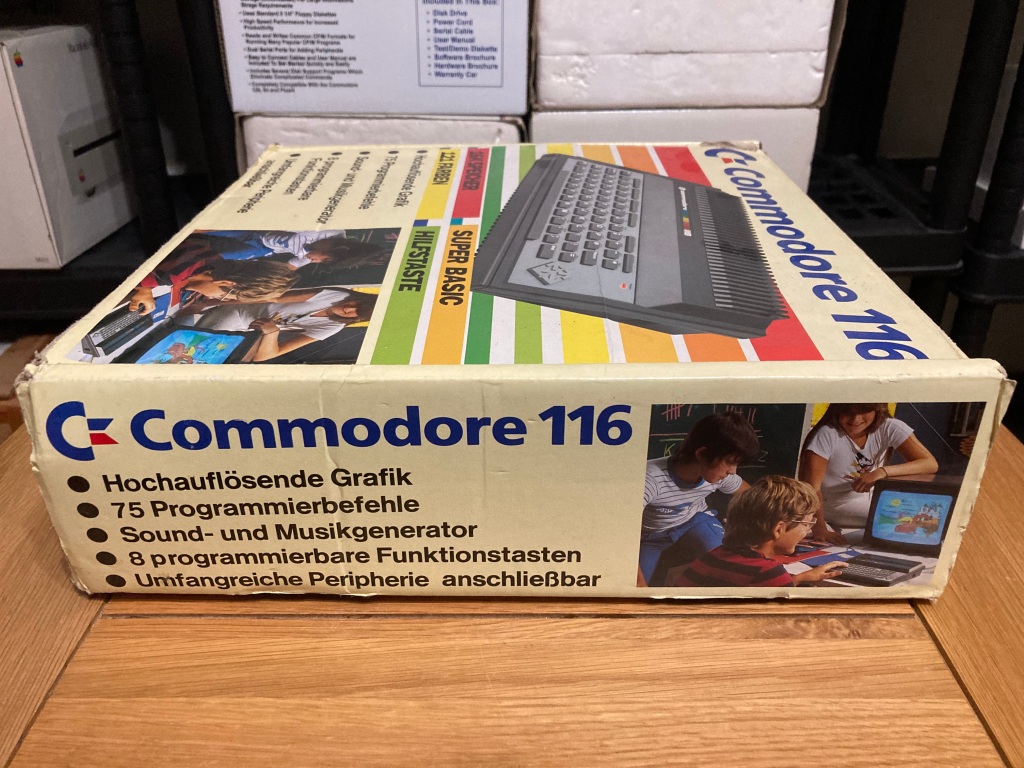
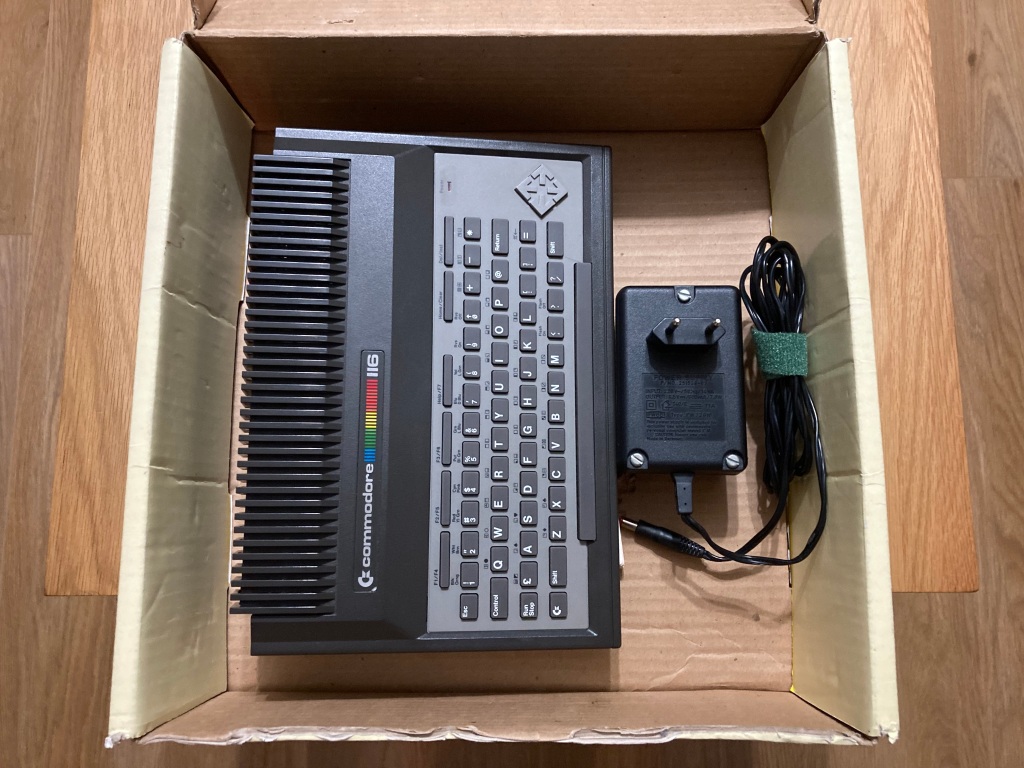
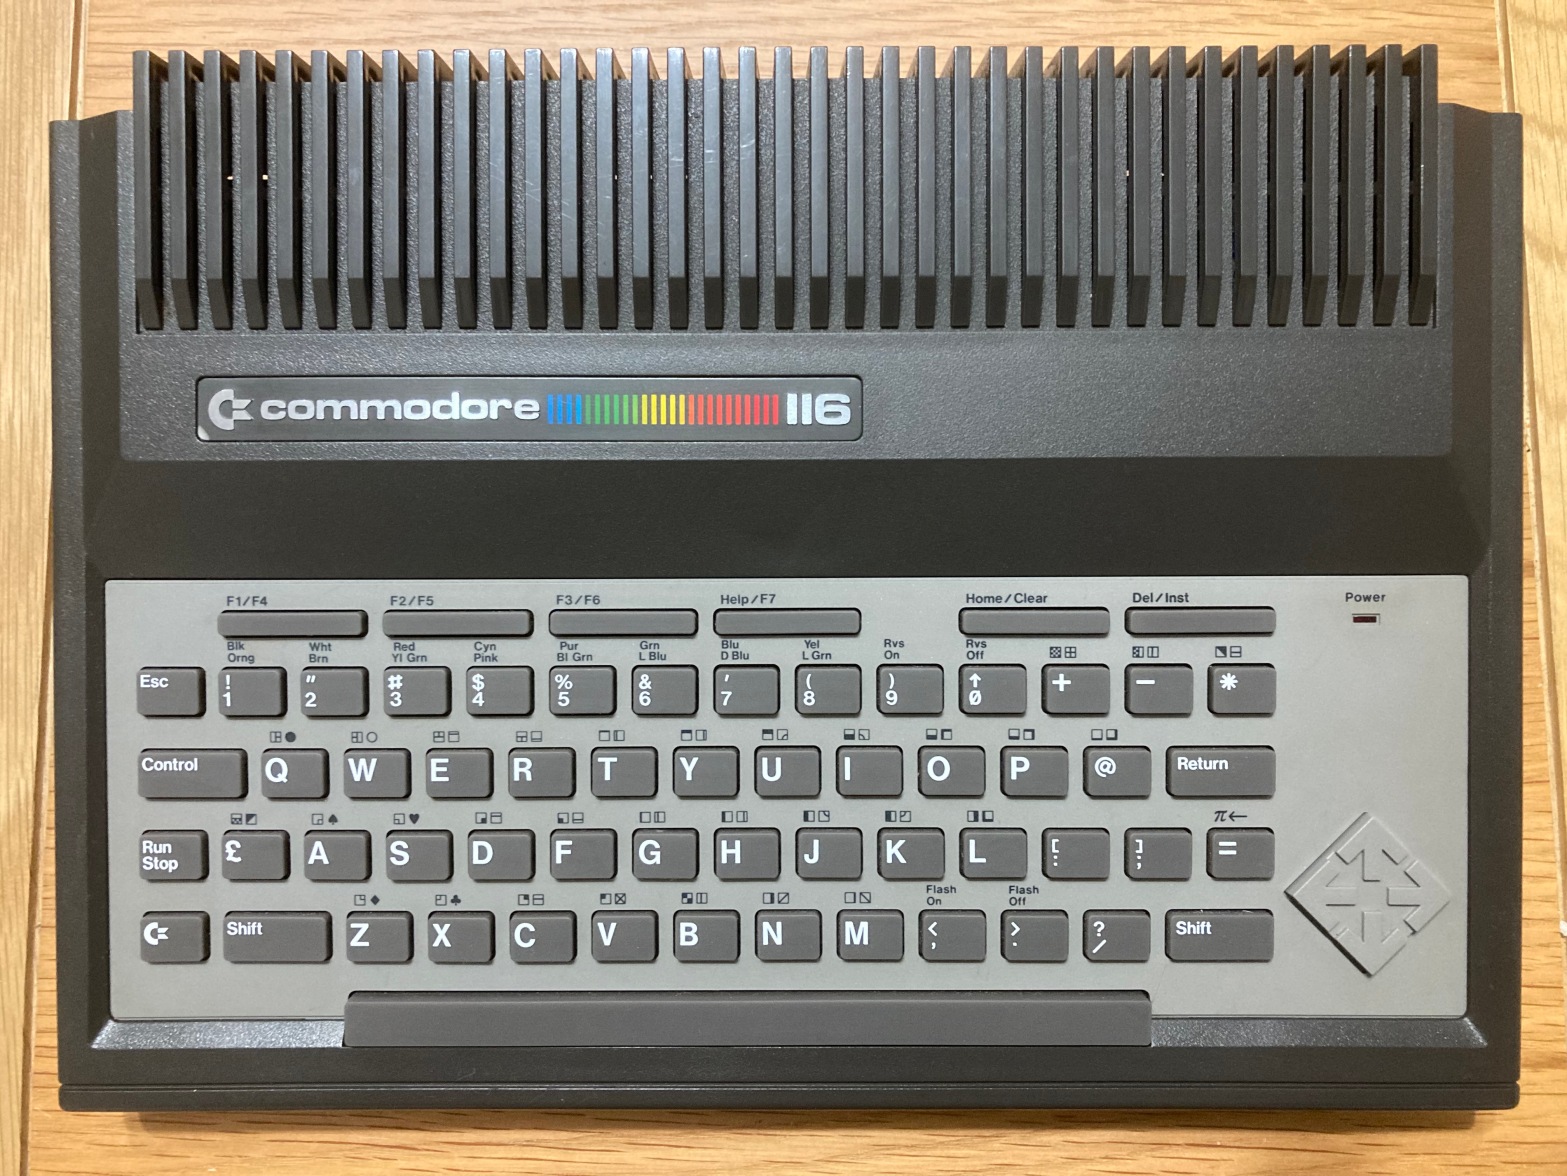
A while back I got my hands on my first Commodore C116, yet another 1980s 8-bit computer to add to my collection. The machine was in good condition and came with several accessories and its original box, however it was sold as “untested”.
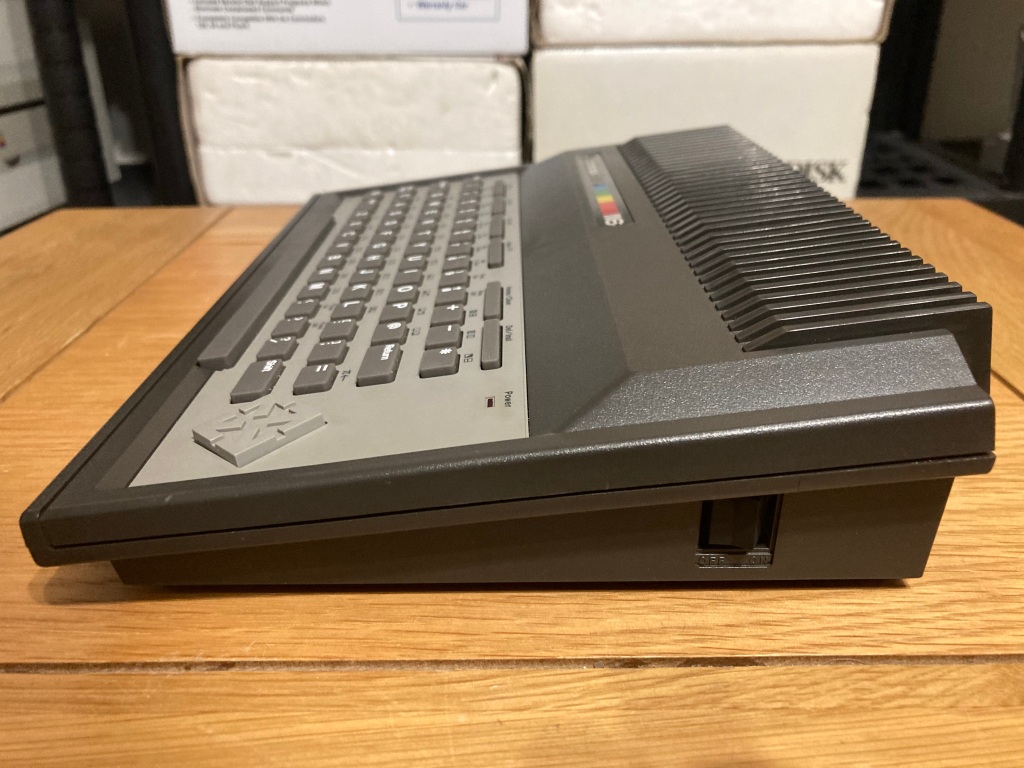
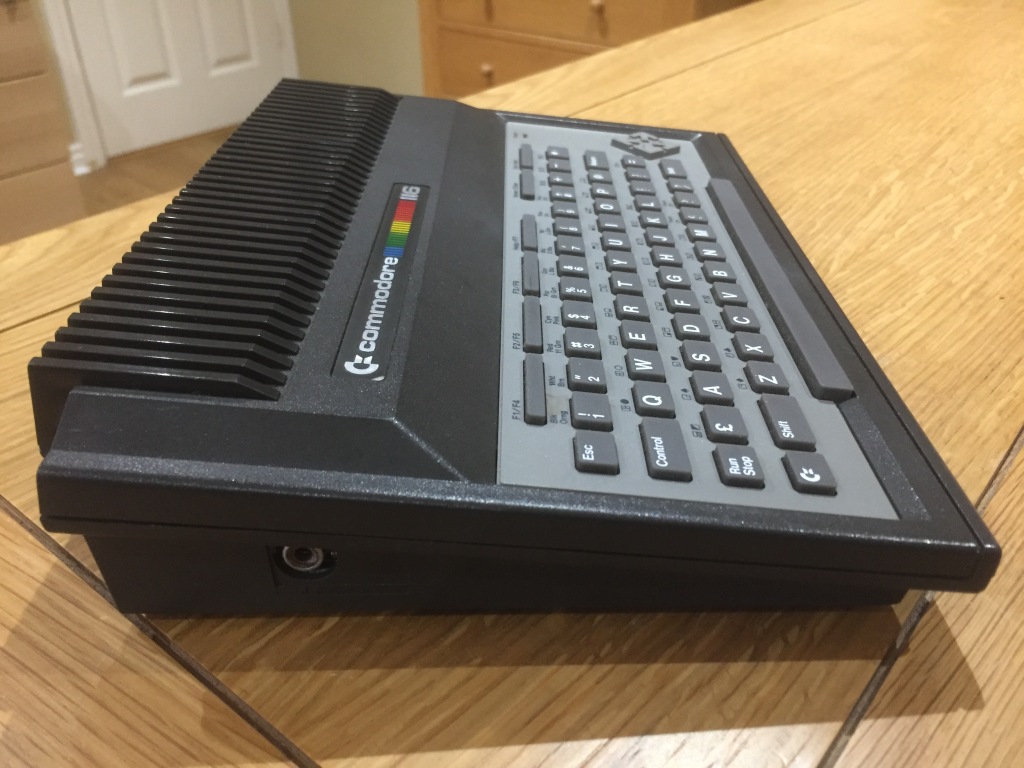
The Commodore C116 was the last of the Commodore 264 line of 8-bit home computers, which were designed to be a low-cost equivalent to the C64 and C128. The C116 was a cost-reduced hybrid of the C16 and Plus/4 – it had a version of the C16 mainboard, a small case modelled after the Plus/4, and a rubber chiclet keyboard.
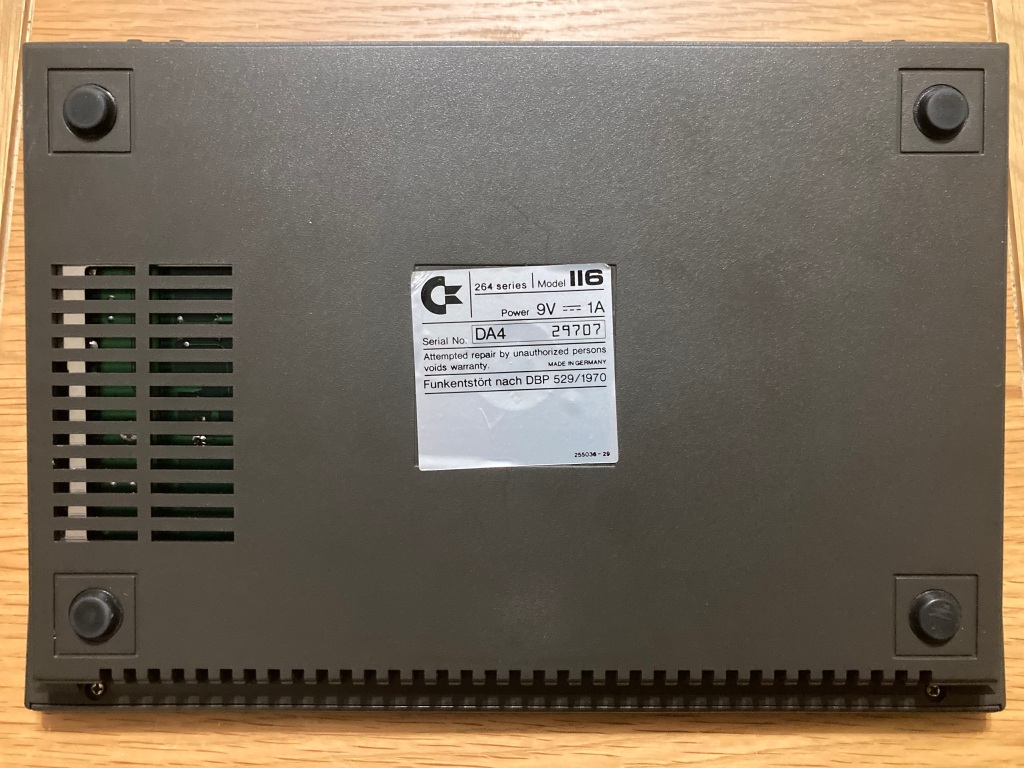
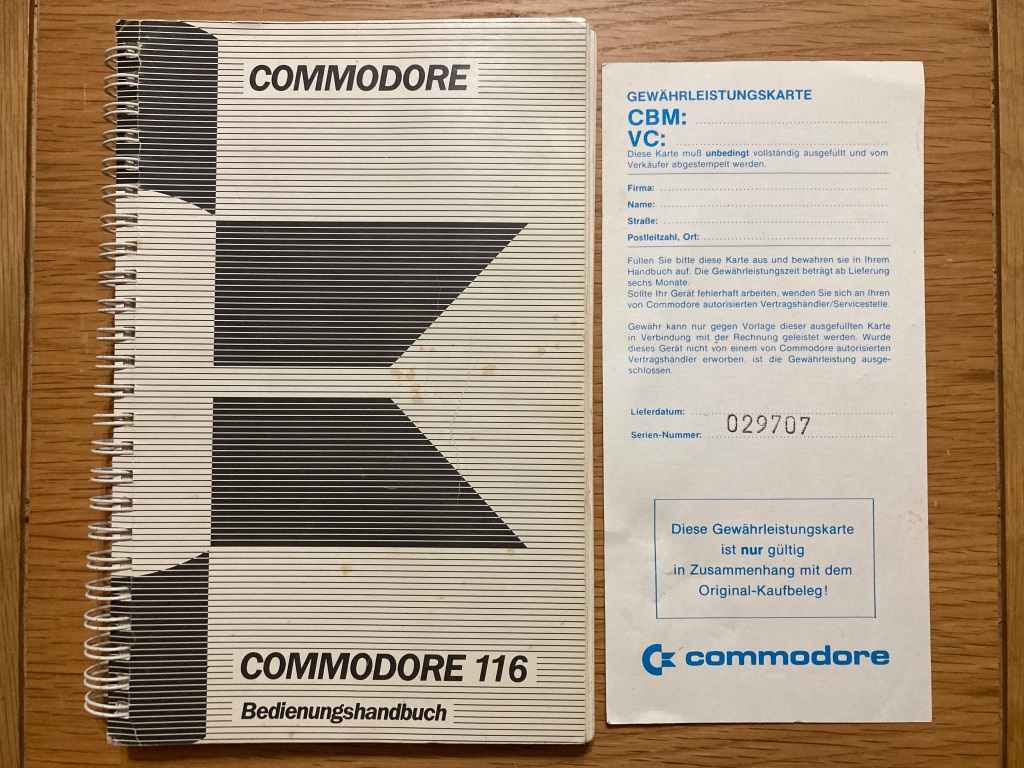
The 264 series was not a commercial success, and although the C16 and Plus/4 had reasonable sales in Europe, the C116 was a complete flop – this makes them tricky to find, as not many were produced (this one has serial number DA4 29707, for example).



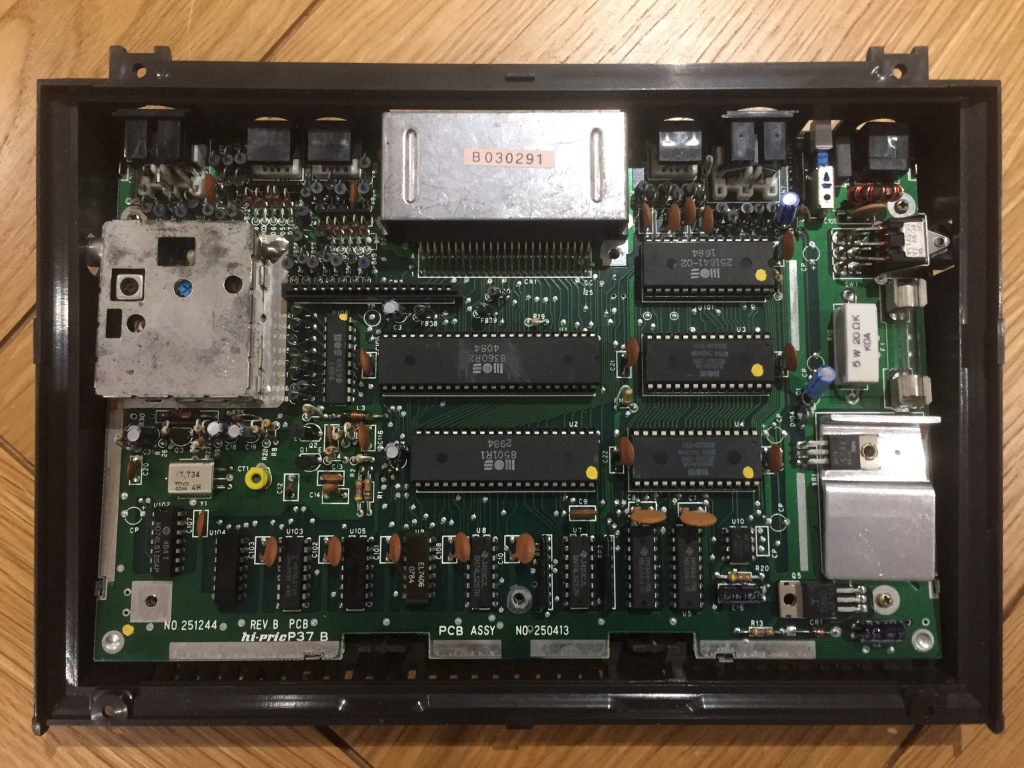
The C116 seemed to be all original, and featured a 1984 250413 REV.B mainboard with 16 KB of factory-installed RAM – the CPU, ROMs, PLA, and TED were socketed.

After checking that the PSU was working OK, I did a quick power-on test – the computer seemed to output video, but only displayed a black screen. The unit required repair.

In the C116, a black screen fault is a common failure mode which can indicate all kinds of problems: typically, a missing or improper signal, a data or address bus conflict, an addressing problem, or a stack page fault, all of which can be caused by a power issue or a failed IC. Most of the ICs on the board are connected to the data or address bus, so there are a large number of potential problems that need to be worked through.
The first thing to check with any repair is that power is being correctly received on the board, which may indicate a problem with the power socket, power switch, or fuse – I checked for 9Vdc at the switch and 5Vdc at the 7805 regulator, and both were OK.
A constant reset can also cause a black screen – I checked the reset signal at the CPU and it worked as expected, staying low (around 0Vdc) for about a second at power on, then going high (around 5Vdc). There was no change when pressing the reset button.
I tried again with a diagnostic cartridge installed, which can identify potential boot problems (such as bad RAM), but there was no change in symptoms.
I checked for signs of previous rework which could indicate a potential problem (flux residue, non-factory sockets, etc), but there was none; I also checked for physical damage on the board which could be causing connection problems, including scratches or cold solder joints, but the board was pristine.
I reseated all of the socketed ICs and cleaned all sockets, ports, and switches with contact cleaner, however there was still no change in symptoms.
At this point I decided to aim my investigation at the ICs themselves, starting with the socketed ones as these are easy to remove and test.
I started with the MOS 7501/8501 CPU, which is part of the 8502 family and is proprietary to the 264 series of computers – this is notoriously unreliable due to it being manufactured using the new and unproven (at the time) HMOS process.
I tested this in my 264-series test board alongside a set of known-good ICs and the black screen issue remained, so the CPU appeared to be toast. No surprise there.
Luckily, I had a spare part in stock – original MOS 7501/8501 CPUs are available but hard to come by due to their unreliability. It is also possible to get modern-made CPLD-based equivalents, which I’ve used in the past, or kits which replace the CPU with the more readily available MOS 6510 from the Commodore 64, but which require a modified Kernal ROM to function.
After replacing the MOS 8501 CPU, the board now booted to a “garbage” screen, with flashing blocks and lines, and various artefacts.

With a diagnostic cartridge installed, the test program seemed to run OK and all ROM/RAM tests passed OK, so something else was preventing the C116 from booting.
I pulled out my IR thermometer to measure the temperature of all of the ICs, to check for any outliers. IC failures often lead to gates shorting or pulling on inputs or outputs, which draws more current, which increases die and package temperature – this can range from a subtle difference to something that could quickly burn your finger (i.e. RAM ICs damaged by overvoltage). In this case the PLA (which usually runs relatively cool in the 264-series computers) was burning hot.
As with the CPU, I tested the PLA in my 264-series test board alongside a set of known-good ICs and the garbage screen issue remained, so the PLA appeared to be toast.
Again, I had a spare part in stock – original MOS 251641 PLAs are available and are relatively common. It is also possible to get modern-made GAL-based equivalents and modern-made EEPROM-based equivalents.
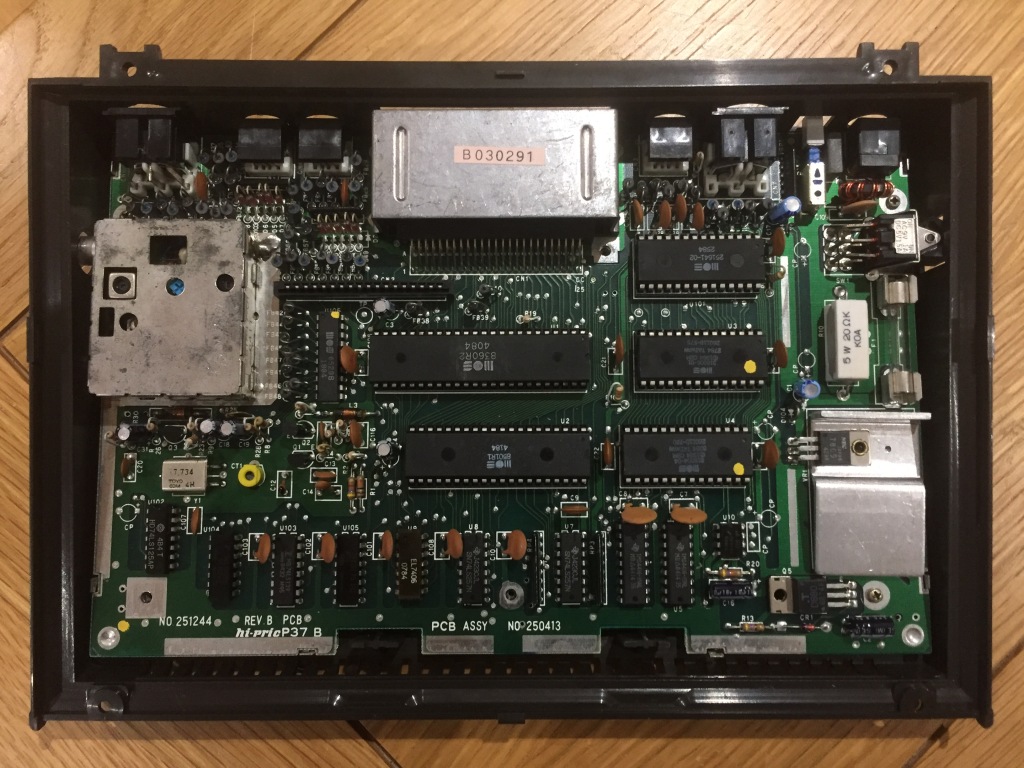
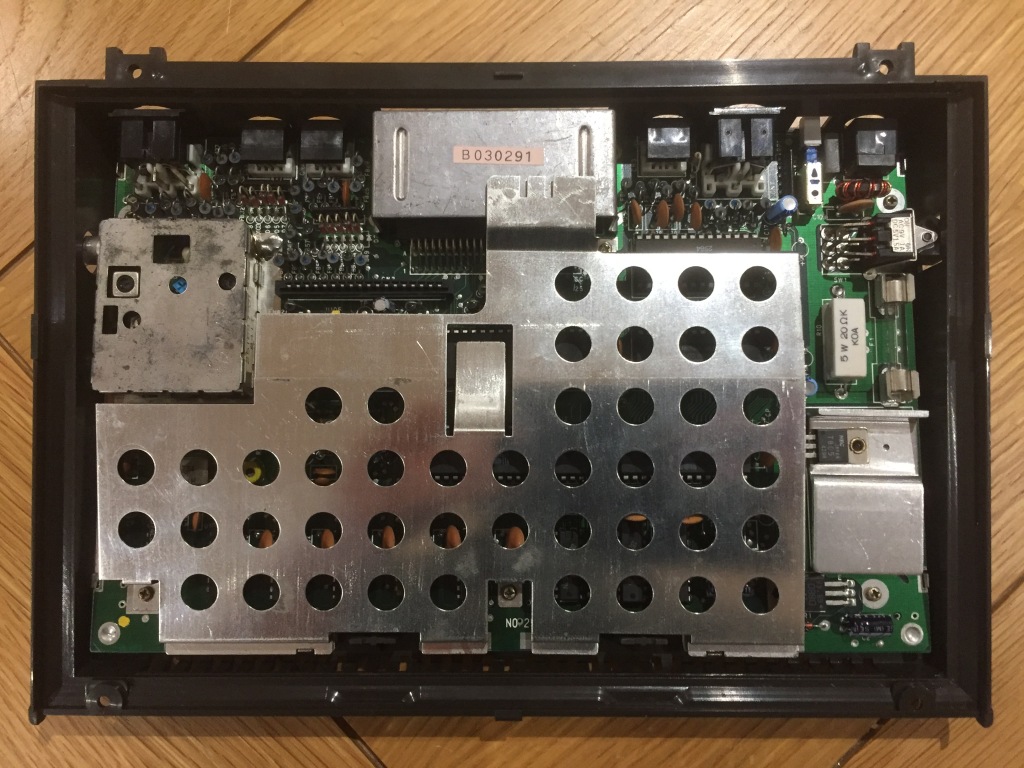
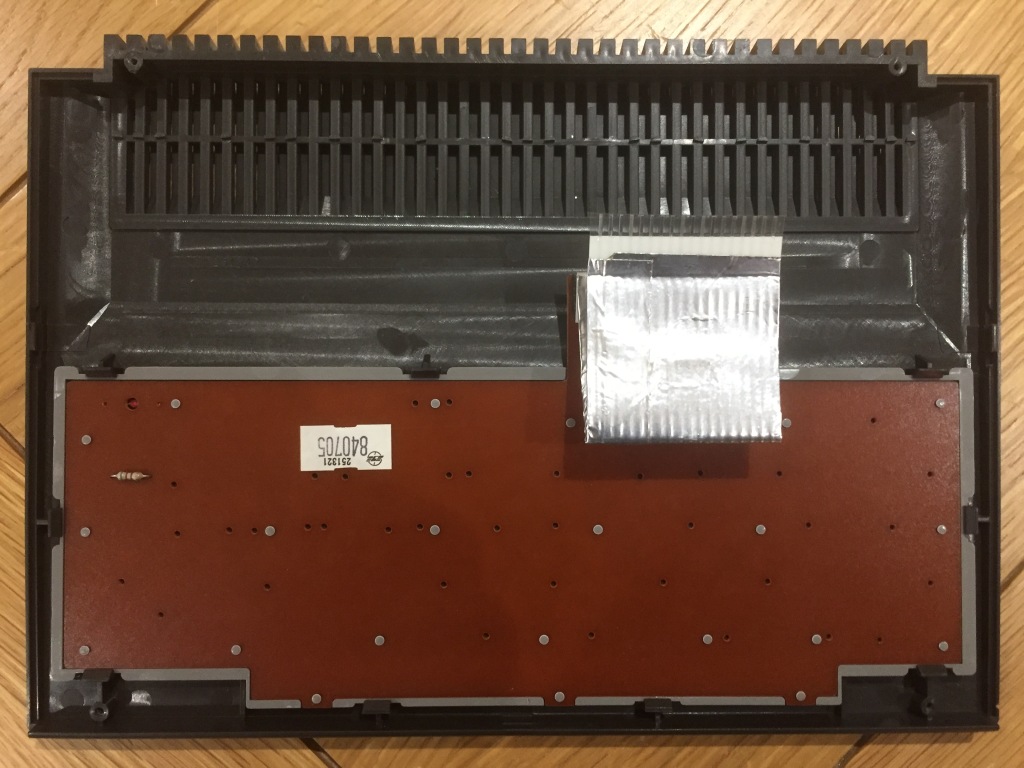
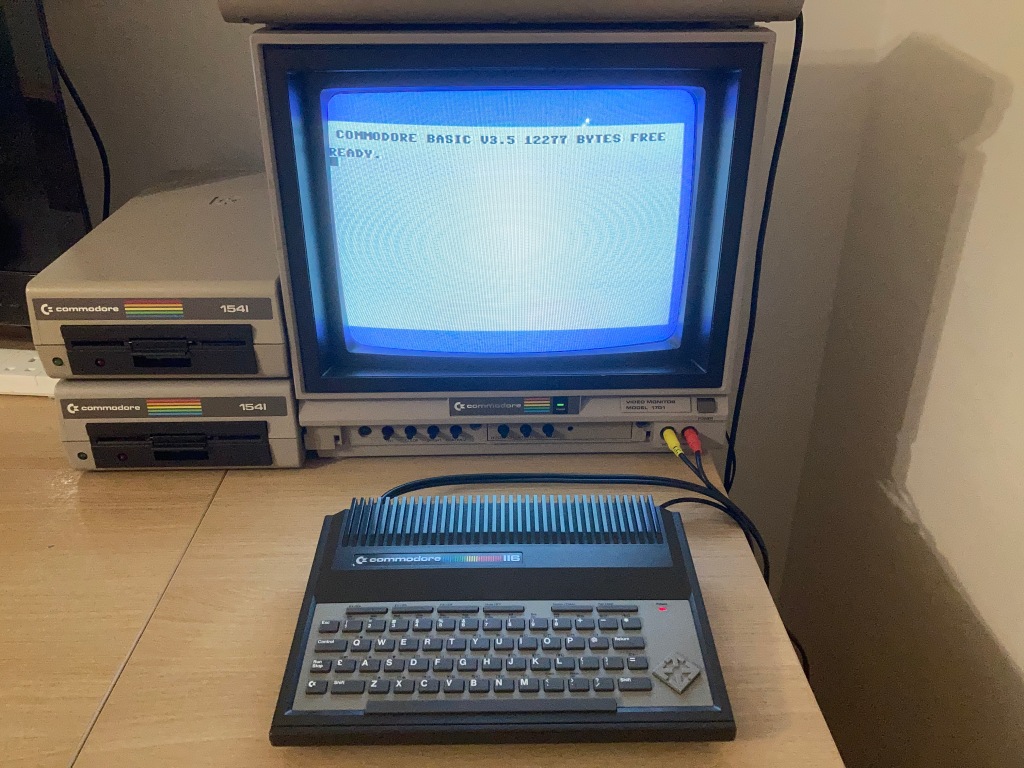
After replacing the MOS 251641 PLA, the computer now seemed to boot correctly (with flashing cursor and correct amount of RAM showing). It also passed all diagnostic tests with a diagnostic cartridge and loopback harness installed.
Luckily, all the keys registered correctly – unlike most other Commodore computers, the keyboard on the C116 is held together with melted plastic instead of screws, so is a massive pain to disassemble and repair.


After all this work was performed, I did some finishing up: I thoroughly cleaned the mainboard with compressed air and an ESD-safe brush; I thoroughly cleaned the case inside and out using Cillit Bang and a microfibre cloth; I cleaned all IC sockets, ports, and switches with contact cleaner; I also replaced the thermal compound on the TED heatsink (but not the 7805 regulator heatsink, as this was riveted on).
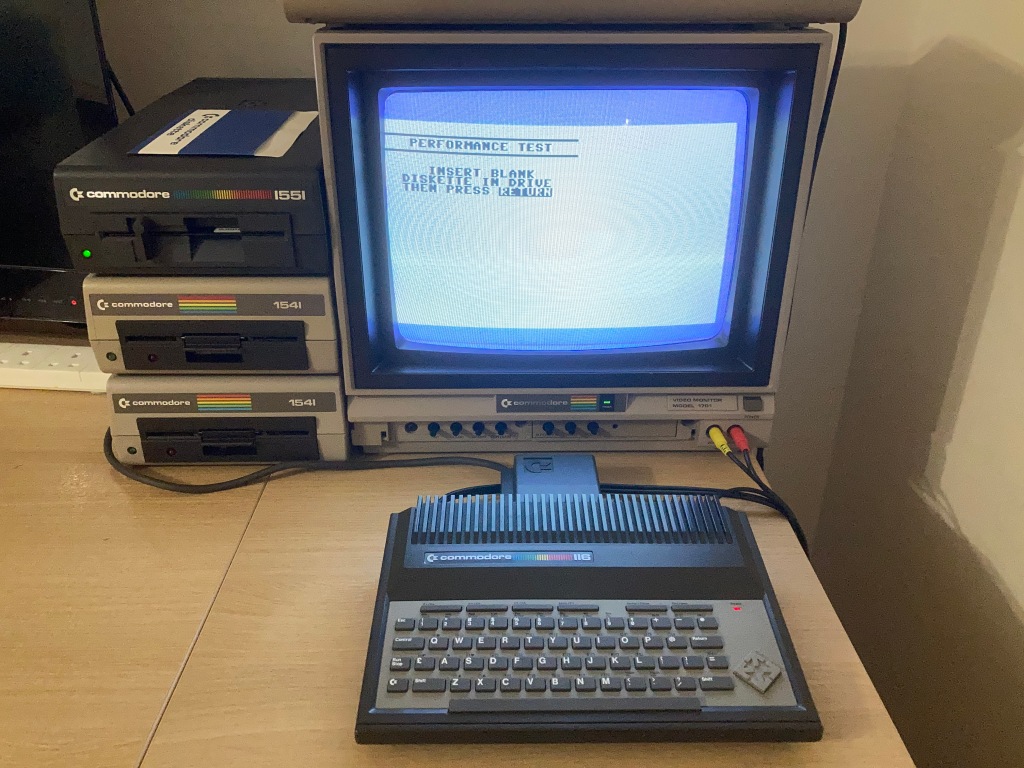
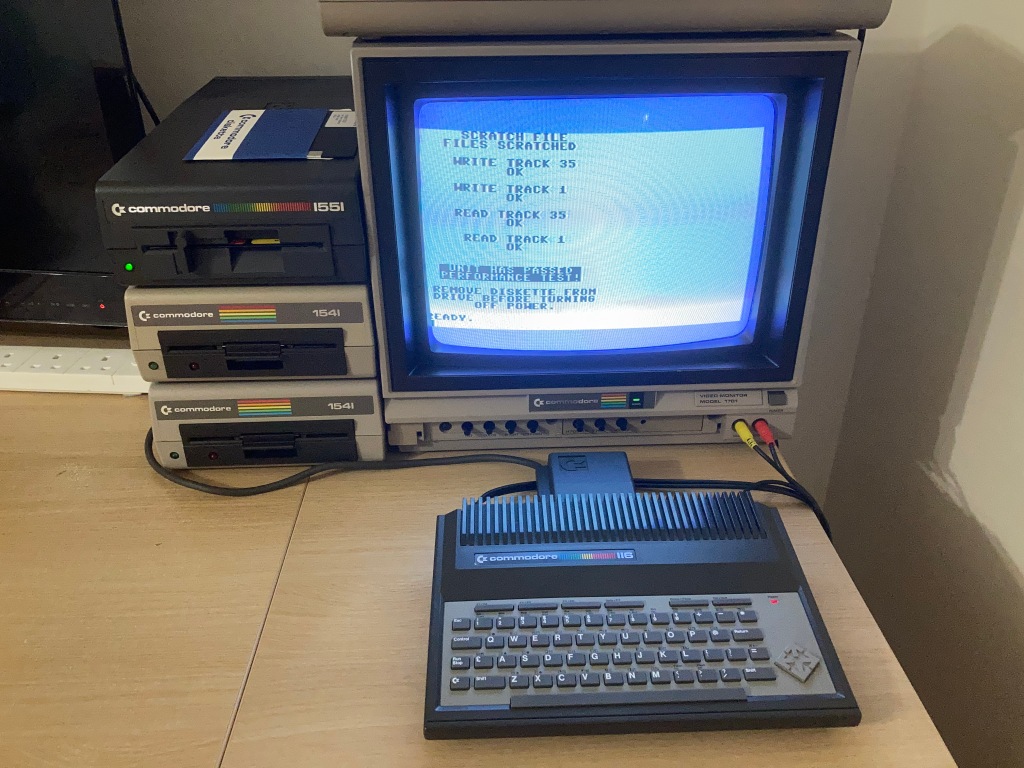
The computer still seemed to boot OK following all of my modifications. However – and I know this well – just because a computer boots, doesn’t mean it’s working properly. Thorough testing is necessary to verify operation, so I did as much testing as I could.
- All keys registered correctly.
- Power LED worked OK.
- Reset button worked OK.
- Luma/chroma and composite video outputs worked OK.
- All diagnostic tests passed correctly with diagnostic harness and loopback harness.


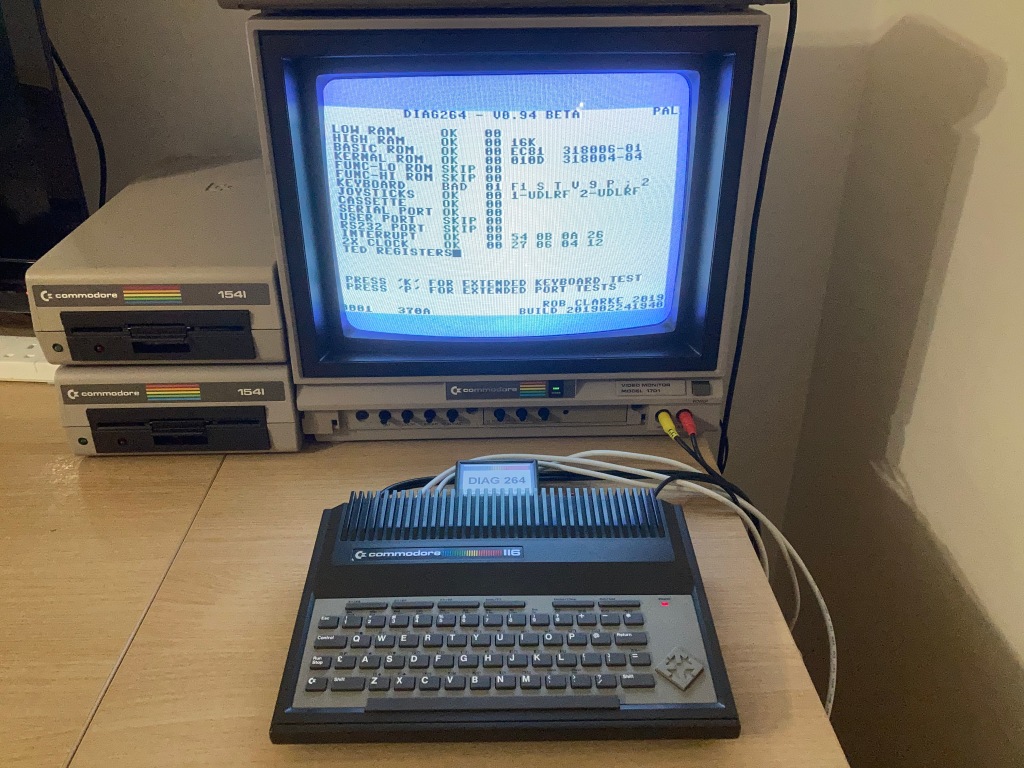
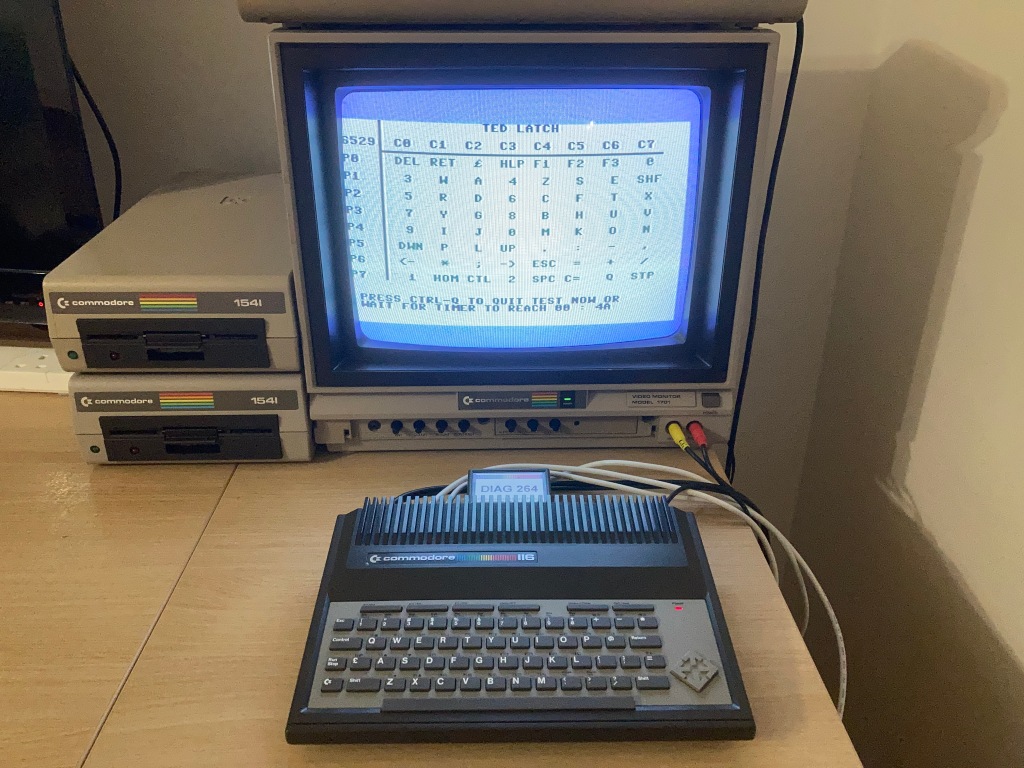
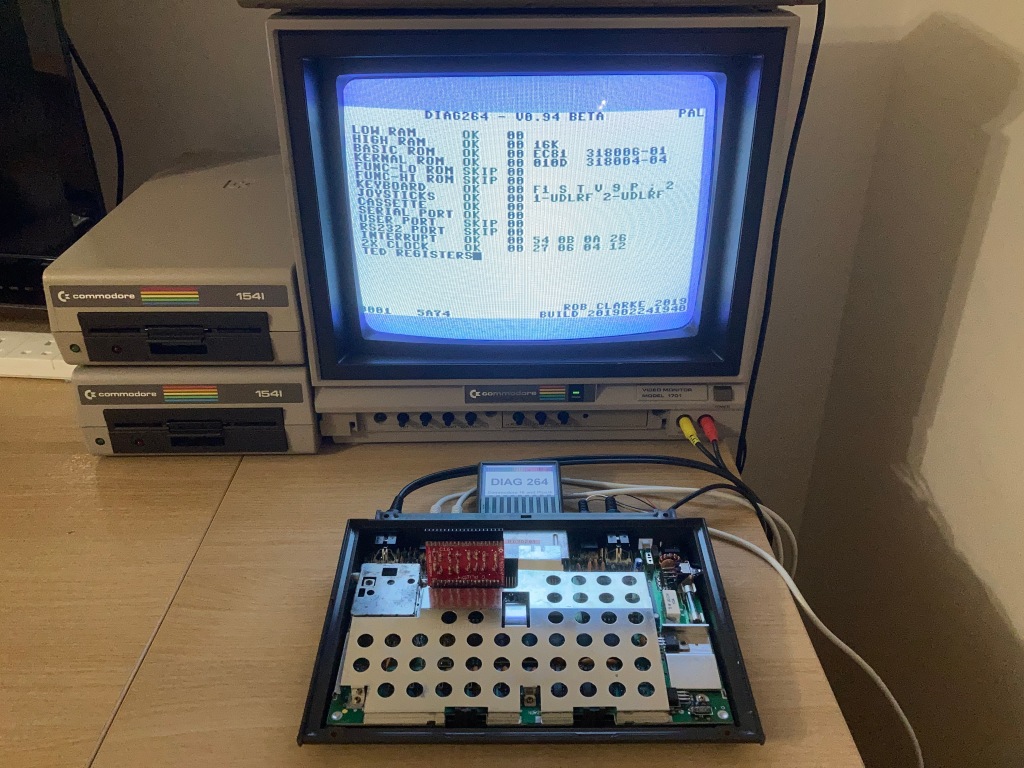
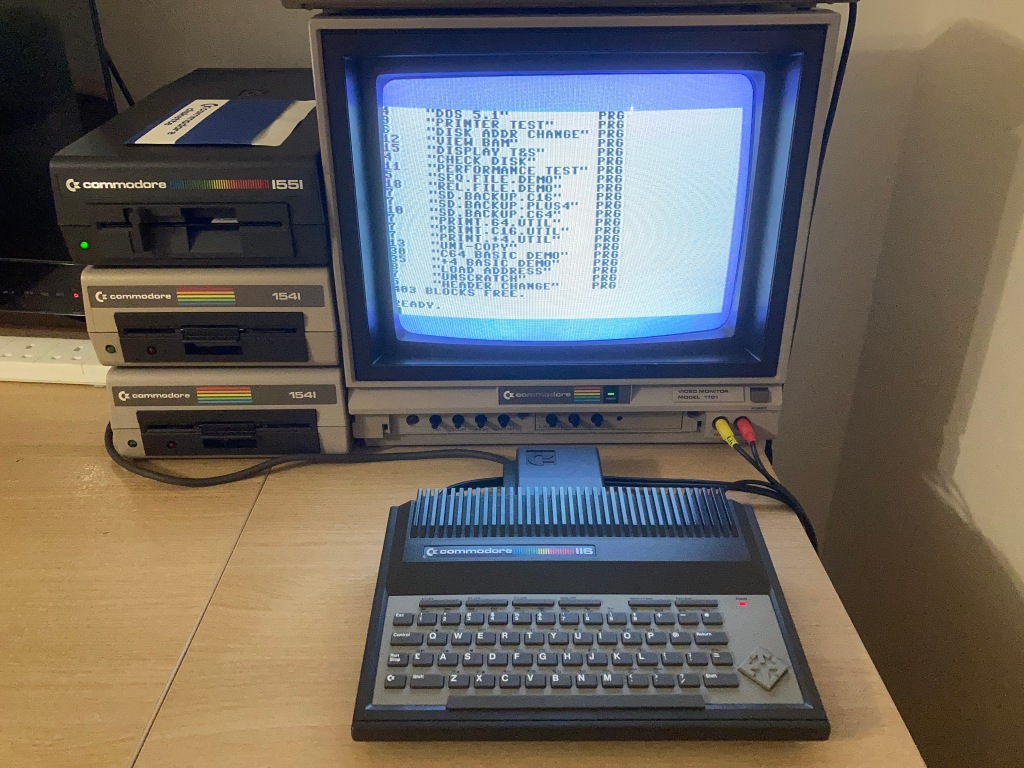


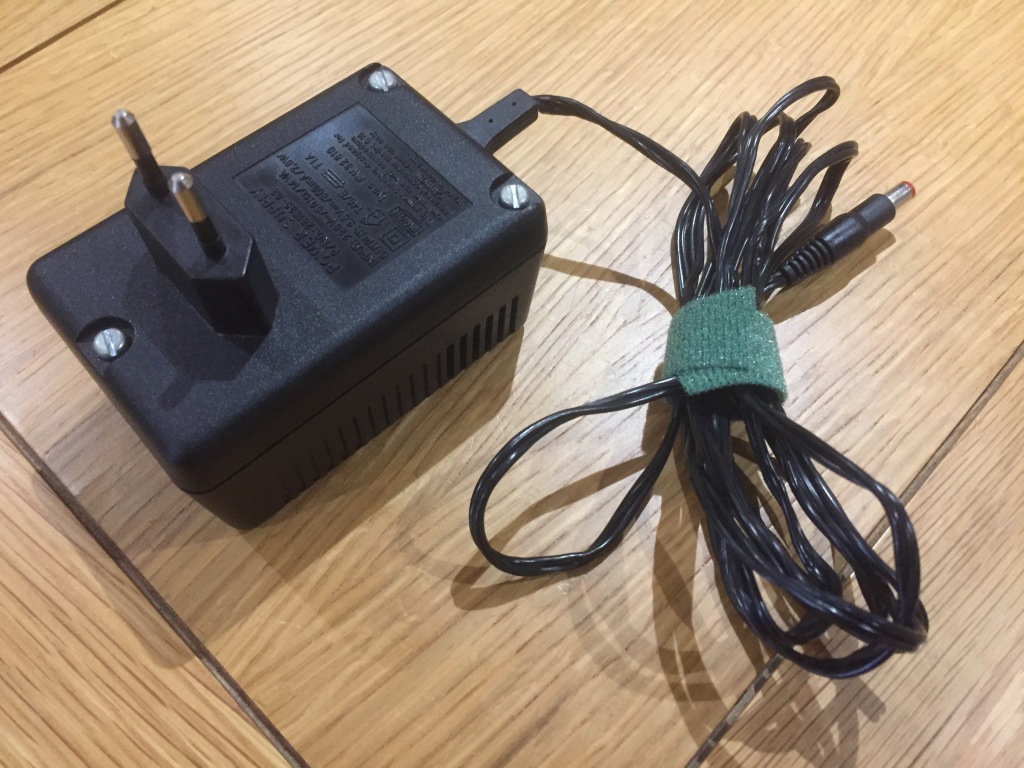

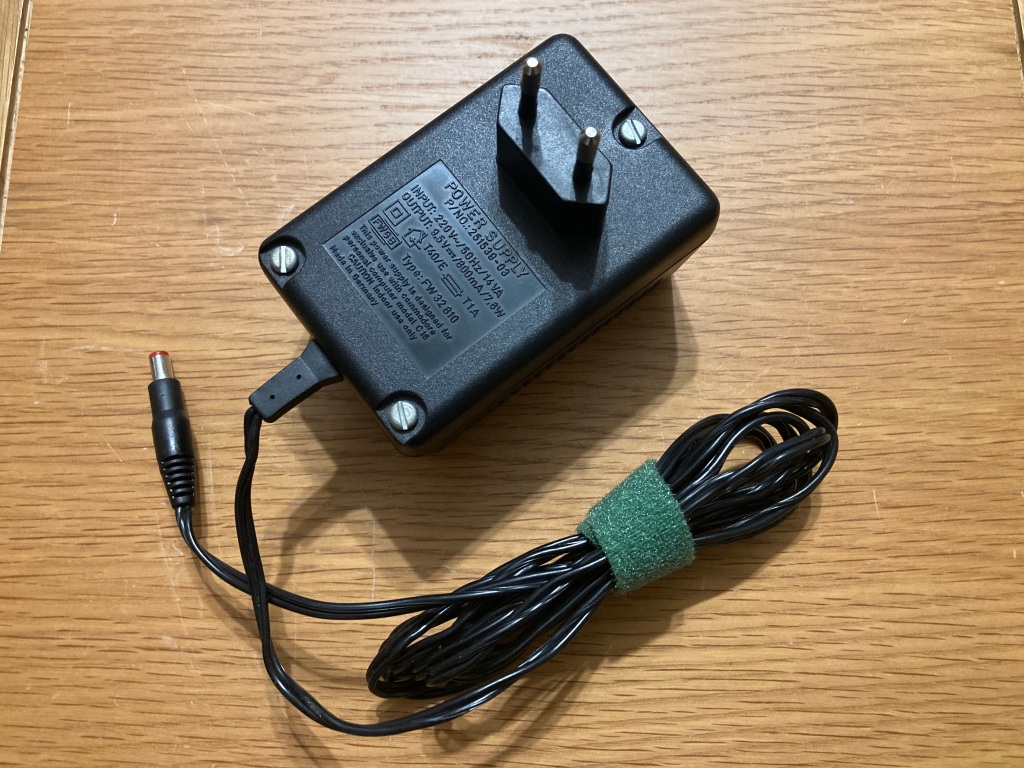
Functionally, the original PSU was working fine – I usually install a modern mains plug (3A fused) on any PSUs that I use (not possible in this case), and check the output voltage(s). Aside from that, the PSU casing and cabling just needed a good clean.
I’d usually recommend using a modern PSU with any vintage computer, as the originals can be prone to failure – however, the C116 takes an unregulated 9 Vdc input which is regulated internally, meaning a PSU failure would be unlikely to damage the computer, so an original PSU (with a modern plug) should be safe to use.
It is normal for these unregulated 9 Vdc PSUs to output a voltage greater than specified (typically around 15 Vdc unloaded), even under load, as this will be roughly linear to the AC input voltage – according to its datasheet, the 7805 voltage regulator can output 5 Vdc at up to 1.5A and handle an input voltage of up to 25 Vdc.
